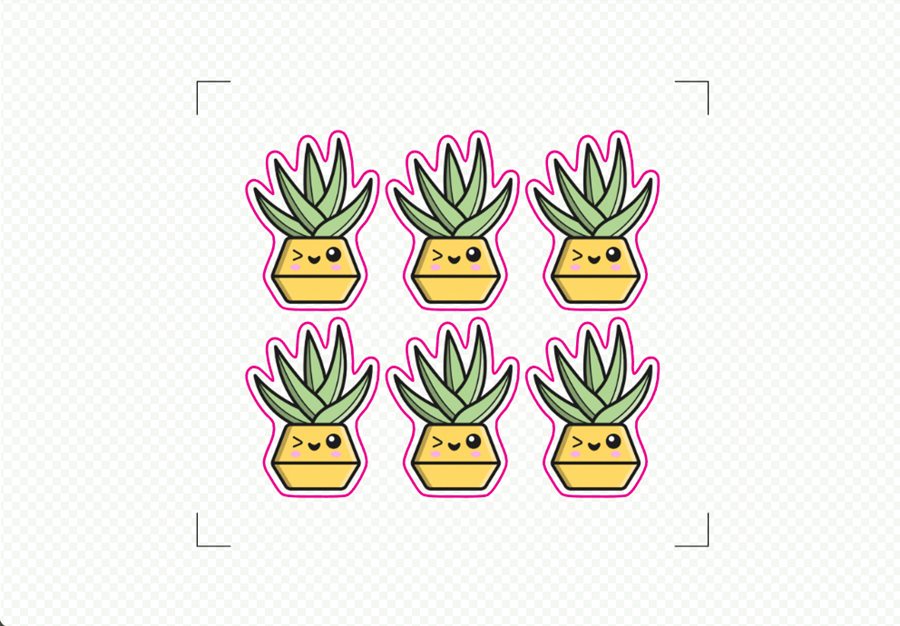
Cut Files for Kiss-Cut Labels & Sheets
Kiss-cut labels are the sticker world's business cards - a sheet of stickers on one shared backing, each peel-able individually. They ship flat, sell in packs, and give a professional finish for product labels. CutPath Pro traces the cut file; below is what changes between a kiss-cut file and a die-cut one (spoiler: nothing in the file, everything in the machine).
What "kiss cut" actually means
A kiss cut is a blade cut that goes through the top layer of vinyl but stops just above the paper backing. The result is a sheet of stickers that stays intact - you peel each label off individually as you use it. The alternative is a die cut, where the blade goes through both layers and each sticker separates from the sheet completely.
The cut file is the same for both
This trips up new sellers: the file you send to a Silhouette or Cricut is identical whether the finished sticker will be kiss cut or die cut. The difference is a blade-depth setting on the machine. Read our kiss cut vs die cut guide for the full breakdown; the short version is:
- Kiss cut - deep enough to score through vinyl only. Silhouette depth 2, force 8–10 on standard sticker vinyl.
- Die cut - deep enough to go through vinyl and backing. Silhouette depth 3, force 12–15.
Test on a scrap corner before committing to a full sheet. Every roll of vinyl is a little different.
Layout a kiss-cut sheet
The typical kiss-cut sticker sheet has 6 to 12 individual designs on an A5 or A4 backing. To lay one out:
- Trace each design in CutPath Pro individually - one design, one cut file.
- In Silhouette Studio, Design Space or your RIP, import each SVG and arrange on the sheet with 5–8 mm gaps between designs so nothing overlaps and the sheet peels cleanly.
- Add sheet-edge registration marks so the machine finds the sheet consistently.
- Print, then cut with the kiss-cut blade setting.
Product labels vs sticker packs
Same file, different use cases:
- Sticker packs - the buyer peels each sticker off the sheet themselves. Sheet layout is a grid.
- Product labels - a single label per backing, peeled and applied to the product. Layout is one-up, sometimes with a spot varnish overlay.
- Address labels & branding - small kiss-cut circles or rectangles for return-address stickers.
All three use kiss cutting because the label stays on its backing until the customer removes it - much better than shipping loose die-cuts in an envelope.
Offset for kiss-cut sheets
Kiss-cut sheets look best when each label has a small consistent white border. Use 1.5 to 2 mm offset so the borders are visible but not overpowering. Bigger offsets on a busy sheet start to look like empty space is dominating the artwork.
Frequently asked
What is a kiss cut?
A cut that goes through the vinyl but stops just above the paper backing. The sheet stays intact so labels can be peeled one at a time.
Is a kiss-cut file different from a die-cut file?
No - the cut file is identical. Blade depth on the cutter decides which one you get.
What blade depth for kiss cut?
Enough to score through the vinyl and stop just above the backing. Silhouette Cameo depth 2, force 8–10 on standard sticker vinyl. Test on a scrap first.
Kiss-cut ready in a minute
Trace once, layout into sheets, cut for years. First one free - no card needed.